DPLRailway, or Building a Garden Railway
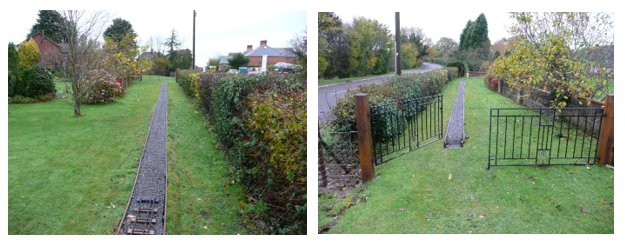
After moving to a new house in 2008 with a house in the middle of the grounds it seemed an ideal location to lay down a test track. Because this is a garden domestic approval was only granted for a ground level track so that it would be less conspicuous.
Having been a model engineer and a member of the EGMES since the age of 11 (over 46 years!) I had built and acquired several locos in 5" & 3 ½" gauge so any track would need to be able to accommodate them all.
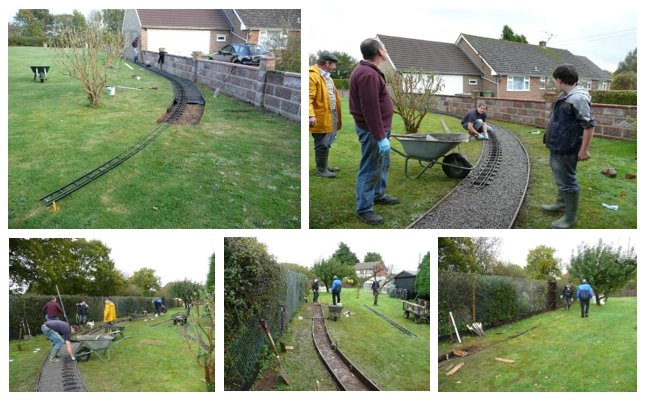
In July 2009 with the help of a couple of friends we made a start on making some track panels to form a test track of around 150 ft. In order to make the most of the area available we decided to make the curves 30ft radius and lay any track close to the garden perimeter. After a couple of months we had made several lengths of track and so I decided to invite our Club members to help lay what we had made over the weekend of 27th & 28th October. There was a fantastic response from the membership, and we were able to lay nearly all the track we had made, which was no mean feat considering the ground had to be marked out and dug then the soil removed. Wooden edge boards were installed to control the ballast and initially I bought 6 tonnes of granite for the purpose.
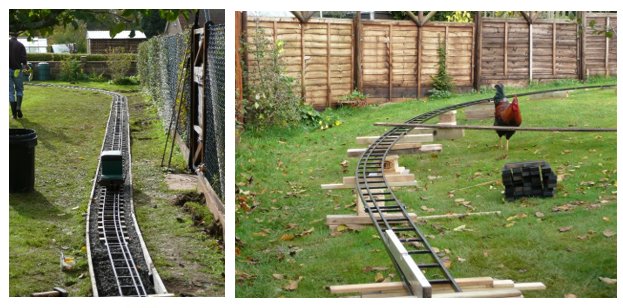
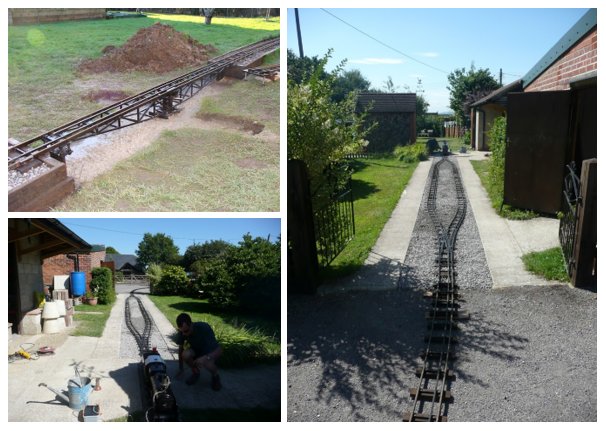
The pictures above show the start of our track laying weekend and how far we got on the first day. The pictures below show the second day's progress. We decided to lay the track to follow the profile of the ground because there is about a 3 foot rise across the garden which would give some interesting gradients. You will see that the track was raised about 18" on the bend with the extended gravel boards filled with hard core and finally ballast, this bend has a rise of 1 in 31. The ground either side of the track was also raised to blend with the surrounding garden. Henry the Cockerel was of little help!
A couple of test runs spurred enthusiasm, and we set about making some more track which then took us about 2/3rd round the garden, this after I had bought another 8 tonnes of ballast! Fortunately I and my friends had some holiday left that year so we continued to make track, sleepers, side boards and stakes to hold the boards in place.
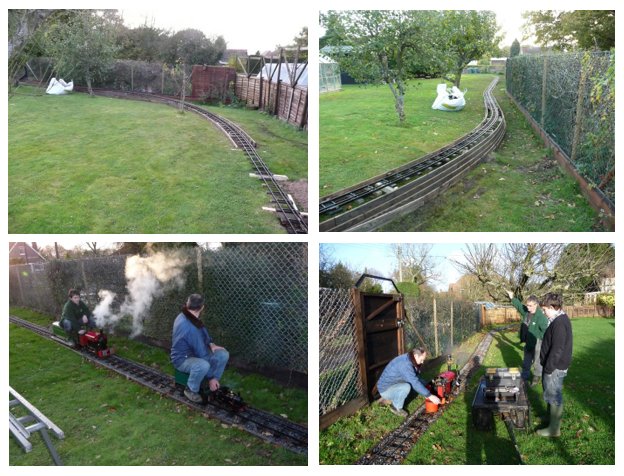
The above pictures show track laying continuing in the opposite direction towards the driveway. The track over the driveway is lifted after each run. With a last minute dash we completed the circuit on December 31st 2009, had a quick run to test on the day and then invited the Club members on New Year's Day 2010.
The following couple of years were taken up rebuilding some pig sties that had collapsed from the weight of snow on the roof and they are now a workshop & engine shed. Although it was good to have a railway to run locos it was obvious it needed to progress and so I built a turntable which would allow us to change direction if we wanted and enable locos and stock to be wheeled onto a temporary siding from the turntable.
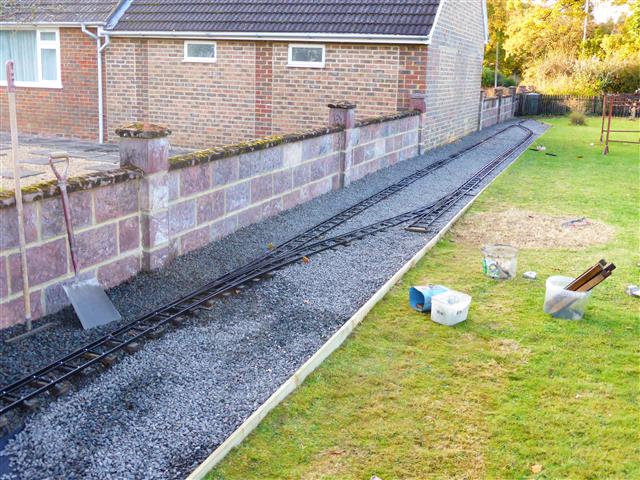
In 2014 it was suggested that a loop would fit in well by the new workshop so I made two Y points which were installed in July, we could then run in both directions at the same time or pass trains. This proved to add a whole new dimension to the railway and so in 2016 I made three more points for a new passing loop at the other side of the track and incorporated a head shunt so we could park locos and stock.
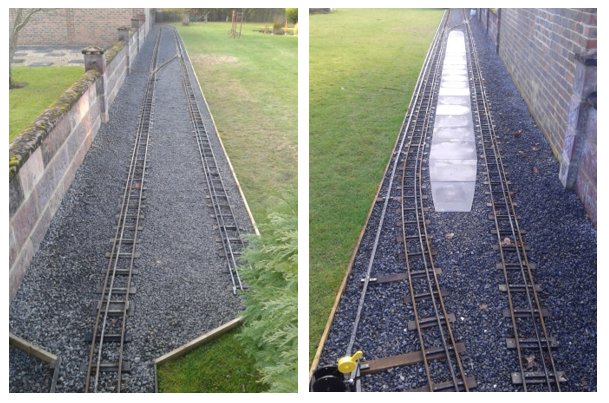
These points are all mechanically operated with the levers situated about 10 feet away so they can be operated by the driver as they approach the points. All of the points are also sprung so the blades do not need to be set in the right direction when exiting the loops. This new loop added more enjoyment to the railway and made me realise that a longer loop near the workshop would be even better, so I increased the length and made the roads slightly wider apart to avoid "knee clash" when two way running. At this point I added paving inside the loop to match the new loop.
The next improvement was in 2017, motorising the original loop points, as due to the location it was not possible to have permanent point rodding and levers. I found a good source of linear actuators from our friends in China and made a prototype mechanism. It proved successful so I made a second point motor and then made two Southern Railway concrete P Way huts to house the switch gear, battery and point lever.
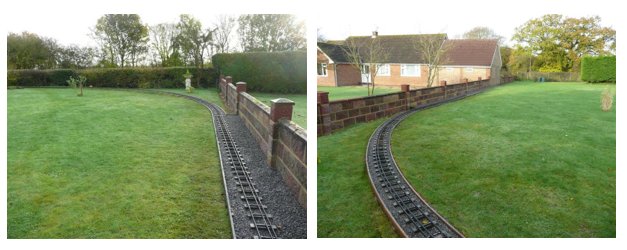
In total 22 tonnes of ballast have been used, and the track is now 517 feet long with two passing loops of 36 & 52 feet long, a siding of 32 foot long and a turntable making the total length of track 639 feet with 1092 sleepers! Although they don't come out very often, I have made scale gradient and mile posts and recently a set of speed restriction signs. A set of signals are currently in production which will be operated by a token system.
In between all the other jobs that need doing around the house & garden we have standardised the coaching stock so that they look similar and upgraded to full braking on driving cars.
Seen here are the new passing loop and siding being installed at the DPLRailway in Nov 2016.
On the 26/11/16 the point levers were installed other than from the siding, so we had a little run with a 3 1/2" and 5" gauge loco to check all the point work etc.
Repairs continue around the railway so keep an eye on progress here or on our Club Facebook site.